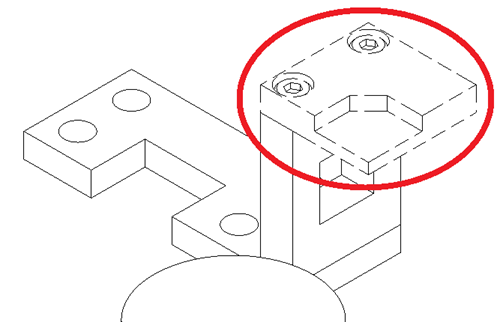
Change the line type of some projected parts
After projecting on the 2D drawing, we will explain how to change the line type of some parts and edges.
Procedures
[1] Click the Figure tab → Edit Group → Edit Graph.

[2] Select the type of object to change.
[Edge Selection]: Select from Parts, Edges, Plays, IntelliShape
[Show edge]: Select from outer line, hidden line, outer line and hidden line

[3] Line type and layer to change.Select .
[Style]: Select a line type such as a dashed line or a one-point chain line
[Edge Selection]: Select from Parts, Edges, Plays, IntelliShape
[Show edge]: Select from outer line, hidden line, outer line and hidden line
[3] Line type and layer to change.Select .
[Style]: Select a line type such as a dashed line or a one-point chain line
[Layer]: Select a layer *If needed
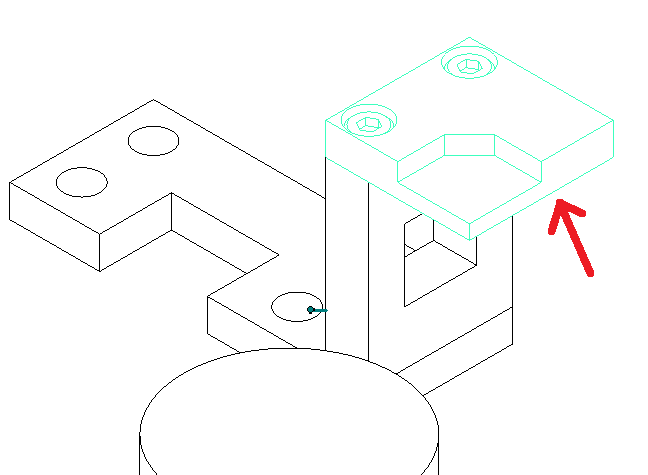
[4] Left-click on the element you want to change from the projection.
When selected, highlight green. *Multiple choices available
When selected, highlight green. *Multiple choices available
[5] Click "Le" in the upper left corner of the property field to complete.

Please refer to the following video for details.
Dr-003
Dr-003
Related Articles
It changes line type of some parts.
It changes line type of some In the 2D assembly drawing, in addition to the main design data, it want to may be expressed in line types (imagination lines) other than solid lines. Using the 3D Configuration function, it can project to be divided into ...Change the Frame Type of Part Numbers
This section explains how to change the shape of part numbers. Part number shapes are configured in the Bill of Materials (BOM) input screen. Procedure: [1] After projecting the drawing, click [Import 3D BOM] in the [3D Interface] tab. Since part ...Changing the Bend Angle for Specific Sketch Bends
This section explains how to modify the bend angles of sheet metal parts created using the [Create Sketch Bend] feature. While the [Set Bend Angle] command allows you to set the bend angle for each bend line at the time of creating the sketch bend, ...Multiple parts into one part (Boolean - Union)
Explain how to make multiple parts into one part. Procedures: [1] Click [Boolean] on the [Feature] tab. [2] Select [Union] from the [Properties]. [3] Select multiple parts to change one part with left mouse click. The selected parts are added to the ...Set Parts as Active
When setting a part as active means currently modeled part only editable. This prevents accidental modifications to other parts. How to: Select the part you want to activate, then right-click and choose [Set as active] from the context menu. The name ...