Creating a Surface Texture Symbol
This section explains how to create a surface texture symbol in a drawing using CAXA Draft.
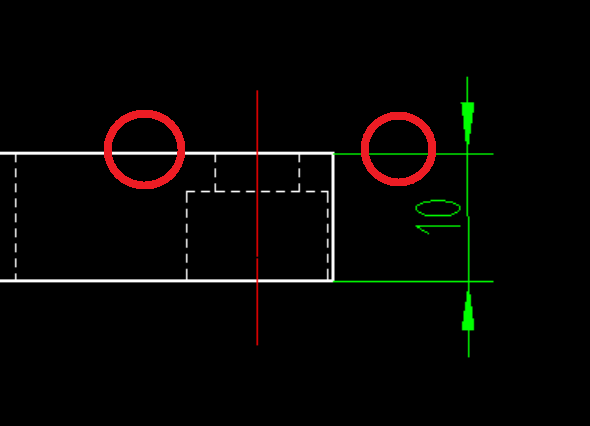
The surface texture symbol is used to indicate surface roughness, typically on reference planes or mounting surfaces such as brackets.
CAXA Draft supports multiple standards: Old JIS (▽), JIS, and New JIS, allowing users to choose according to their needs.
Procedure:
[1] Click [Surface Finish] in the [Annotation] tab.
[2] Select an edge or dimension extension line on the projection view.

[3] Change Item 1 on the status bar to Standard Annotation.
[4] The Surface Texture Symbol dialog box will appear.
- Select the symbol type from the [Standard Symbol] section.
- Specify or enter the desired surface roughness value.
[5] Click [OK].
Reference: Surface indication sign (user guide)
Reference: Surface indication sign (user guide)
Related Articles
[Surface Finish] Scale Adjustment
This section explains how to change the scale (size) of Surface Finish. To change the scale of the entire drawing [1] Click [Surface Finish] style in the [Annotation] tab. [2] Change the value of [Scale:]. To change the scale of part of the drawing ...Adding Auxiliary Surface Symbols to Welding Symbols
This section explains how to add auxiliary surface symbols to welding symbols in CAXA Draft. Procedure: [1] Click [Welding Symbol] in the [Annotation] tab. [2] Configure the Groove Symbol. By default, it is set to [None]. Select the desired symbol ...Creating a Closed Loft Surface
This section explains how to create a closed loft surface. Procedure: [1] Create straight lines using sketches or 3D curves. Arrange them to form a triangle or circle when viewed from the side. If the section shape is even slightly complex, a closed ...Applying an Image to a Surface
This section explains how to import and visually display an image on a specific face of a solid or surface in IRONCAD. Use case Knurling Bolt threads Serration patterns While these features can be physically modeled, doing so significantly increases ...Creating a Section View of Surface model
This section explains how to create a section view of a surface model by CAXA Draft. Surface models are displayed with a yellow icon in the Scene Browser. If you attempt to create a projection view, you can use [Section View] in the [3D Interface] ...