Create sheet metal shapes with loft
This section explains how to use the Loft function for sheet metal.
Procedure:
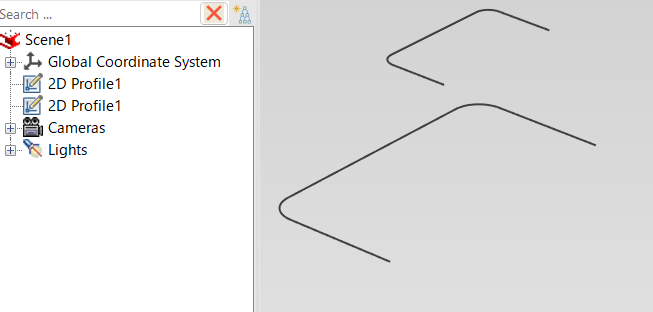
[1] Create two sketches for loft.
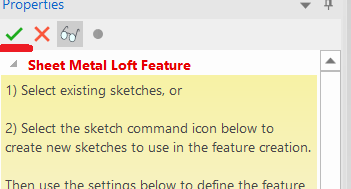
[2] Click [Create Loft] in the [Sheet Metal] tab.
[3] Select two sketches.
[4] Change stock as needed. Click [Change Stock].
[5] Click [OK].
Same function as [Feature] tab → [loft],The cross-sectional shape must be one open (closed) curve.
Please refer to the video below.
IC-097
Related Articles
Create Sheet Metal Parts from Solid Parts
This section explains how to create sheet metal parts from solid parts either imported via intermediate files or created directly in IRONCAD. Shapes Convertible to Sheet Metal Parts Example: Shapes Convertible to Sheet Metal Parts. Both solid parts ...Remove Material Using Lofted Shape (Loft Remove)
This section explains how to remove part of a solid using sketch profiles of different sizes or shapes on the top and bottom surfaces. You can delete from shape that connects two sketch profiles using the [Loft] feature. For IronCAD 2023 and later ...Create deployment parts from solid/surface
This section explains how to convert parts imported from intermediate files (without edit history) or parts created using the [Shape] catalog in IRONCAD into flattened parts. Flattened parts can be projected into CAXA Draft for drawing creation. Use ...Create a model with Sheet Metal Stock and Bend
This section explains the basic operations for creating a model using [Stock] and [Bend] from the sheet metal catalog. Procedure: [1] Drop [Stock] and select material. [2] Drop [Bend] into the stock part, then modify shape (angle, length or wide size ...Adding and Editing Sheet Metal [Stock]
This section explains how to add and edit Sheet Metal Stock. Stock can be managed from Options → Sheet Metal → Stock. Add stock [1] Select the position where you want to add the new stock, then click Add. The new stock will be inserted below the ...