Project 3D models into CAXA Draft in disassembly
This section explains how to switch between assembled and exploded views when projecting to CAXA Draft.
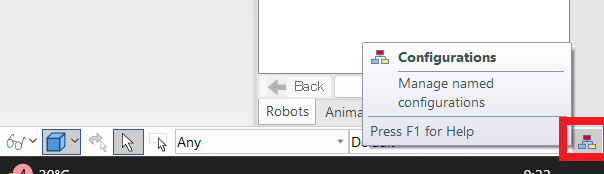
To project an exploded view, first create a [Configurations] of the exploded state in the 3D model.
Please refer to the video below.
CA-043
Related Articles
Print with CAXA Print Tool
CAXA Draft provides two printing options. This section explains the use of the CAXA [Print Tool]. Menu → File → [Print] [Tools] tab → [Utilities] Group → Printing Tools The Print Tool is useful for printing multiple drawings on a single sheet or ...3D file linked to the projection map(.Check/change the ics.
This section explains how to check or change the 3D file (.ics) that is linked to a projected drawing in CAXA Draft. Checking the Linked File [1] Open the drawing file (.exb) in CAXA Draft. [2] Click [Edit Links] in the [3D Interface] tab. [3] The ...Display Configuration is reflected in CAXA Draft
You can utilize "Configurations" to suppress 3D components and save their positional information, allowing you to project configuration-specific drawings into CAXA Draft. The bill of materials (BOM) also supports display configurations, enabling you ...Create CAXA Draft Frame Title Field Template
Learn how to create a template file that works with the property information of the 3D model. Types of Templates There are three types of CAXA Draft templates. Title column template (.chd) You can register the title field. Frame Template (.cfm) Only ...Project the key groove in front
This section explains how to project with the keyway facing forward. Use the "Direct View" command to set the keyway to face forward, and then enable [Orientation of 3D Scene] in the [Projection Drawing Output] screen of CAXA Draft. This will allow ...