Creating a Bolt Hole Using [Custom Hole]
This section explains how to create a bolt hole using the [Custom Hole] feature found in the [Feature] tab.
Procedure:
[1] Go to the [Feature] tab and click [Custom Hole].
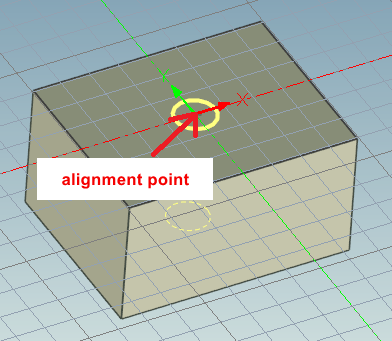
[2] Select the target part and click on the desired placement point.
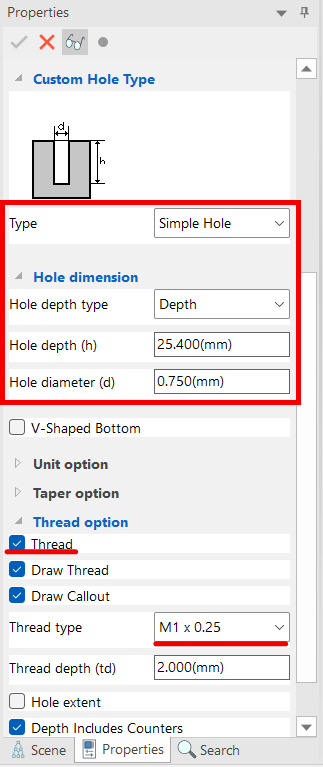
[3] In the [Custom Hole] – [Properties] section, adjust the settings as needed (e.g., Type, Hole Size, Thread Type).
[4] Once settings are complete, click [✔] (OK) button in the upper-left corner to finish.
Please refer to the video below.
IC-122
Related Articles
Create a tap size that is not in IRONCAD's default settings
This section explains how to create new thread size that is not included in IRONCAD's default settings using the [Cosmetic Thread]. Tapered holes cannot be created using this method. The configuration file for [Cosmetic Thread] is stored in the ...Converting a Cylindrical Hole to a Through Hole and Creating Dimensions
When creating hole dimensions in 2D drawings or CAXA Draft, holes made with [Cylindrical Hole] will display the plate thickness value—even if the hole is actually through. To display the hole as [THRU], as shown on the right side of the illustration, ...Create a tapered hole in Custom Holes in the Tools catalog
This section explains how to create a tapered hole using the [Custom Hole] command from the [Tool] Catalog. Check [Taper] and set each infomation. Please refer to the video below. IC-068Setting a Custom Property Template
This section explains how to configure custom property templates for Parts, Assemblies, and Sheet Metal Parts. Once a template is defined, any blocks created from the catalog or assemblies that are generated will automatically include the specified ...Create tapered screws with pie holes and schematic screw mountains
This section explains how to create a tapered internal thread. IRONCAD is a CAD system that allows efficient modeling by utilizing items from the standard catalog. Tapered internal threads can also be easily created by using [Cut Pie] from the ...