Creating Consecutive Normals on a Shape
This section explains how to draw normals at equal pitch intervals on a shape.
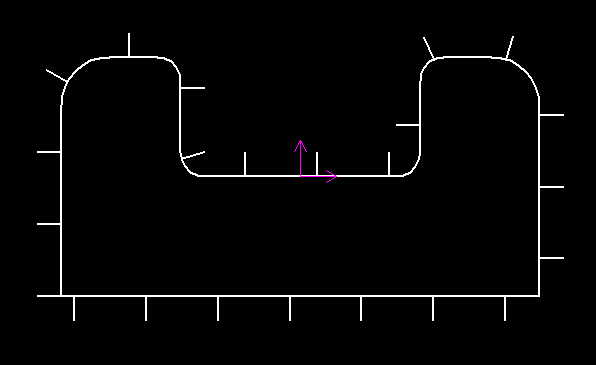
Procedure:
[1] Create the first normal line at the base point (starting position) on the shape.
[2] Click [Array] in the [Common] tab.
[3] Configure the status bar settings as follows:
Item 1: Curve Array
Item 2: Single select line
Item 3: Rotated
Item 4: Distance
Item 5: (Inter the number of copies)
Item 6: ( Enter the pitch)( )
Item 7: Hold Source Object
Item 8: Associate Array
[4] Select the line created in Step 1, then right-click to confirm.
[5] Select the base point and the shape in order, then specify the direction.
[6] The normals will be created on the shape.
Please refer to the video below.
CA-054
Related Articles
Move the position of the 2D shape drawn by sketching
When creating 3D shapes, you may need to create 2D sketch geometry. Sketch shapes can be drawn freely, and there may be cases where you move the drawn geometry. There are three methods for moving sketch geometry, as described below: Select the sketch ...Creating a Groove on a Cylindrical Surface Using Sweep
This section explains how to create a groove for a cam on a cylindrical shape. The groove is created in a direction perpendicular to the center axis of the cylinder. Procedure: [1] Draw a 2D sketch to use as a guide curve for the cylindrical surface. ...Creating Grooves on a Cylindrical Surface Using Wrap Emboss
This section explains how to create evenly spaced radial grooves on the side surface of a cylindrical shape. Procedure: [1] Check the circumference length of the cylinder. [2] Go to the [Sketch] tab and create sketch line that match the circumference ...Fix the twist of the shape created with loft
When creating a shape using the Loft function, the resulting geometry may occasionally become twisted. This section explains the procedure to resolve such twisting issues. Procesure: [1] Right-click of Loft. Click [Edit Match Points]. [2] Click on a ...Creating an Assembly Feature: Extruded Cut
Use Assembly Feature → Extruded Cut to create consecutive holes in multiple parts within an assembly with a single feature. Procedure: [1] In the Assembly tab, click [Assembly Feature Exclude Remove]. [2] Create the sketch for the cut shape. [3] In ...